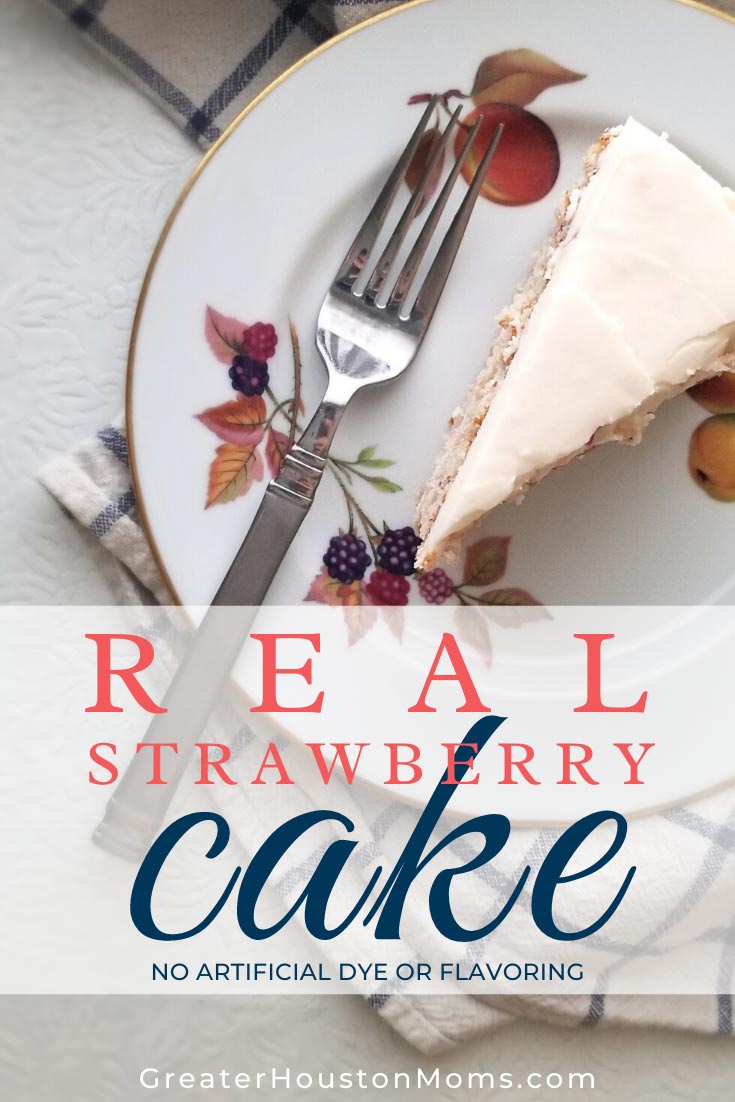
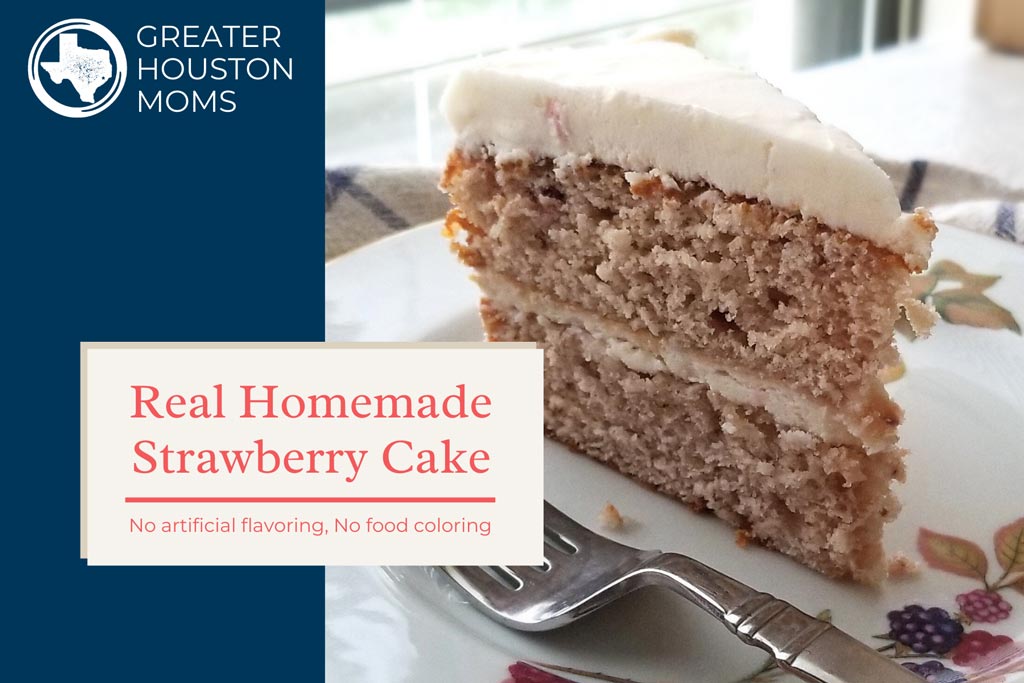
Homemade Real Strawberry Cake (No Flavorings! No Food Coloring!)
I love strawberry cake! I hate red food dye! I can always taste it. Even the kind that says you will not taste it. Yeah. It still has a taste. Plus, food dye is just for photos so why bother putting junk into the best, most delicious, fluffy, moist, sweet-but-not-too-sweet strawberry cake?
Well, that was sort of rhetorical but it also has an answer.
Fresh strawberries have a lot of water in them and using real strawberries to make a cake generally leaves you with a mushy mealy cake that no one wants to eat. Oh, and those fresh strawberries will start molding pretty quickly.
After searching high and low I found a really really good strawberry cake that uses real strawberries from Sally’s Baking Addiction. Now, if you click that link the first thing you will think is – shenanigans! Because you are going to see photos of an unnaturally bright pink strawberry cake. That is because there is food dye in the cake photographed. Because food dye is for photographs. If you read on she says it is entirely optional and the recipe itself includes no strawberry imitation flavor or any of other yucky things you do not want in your cake.
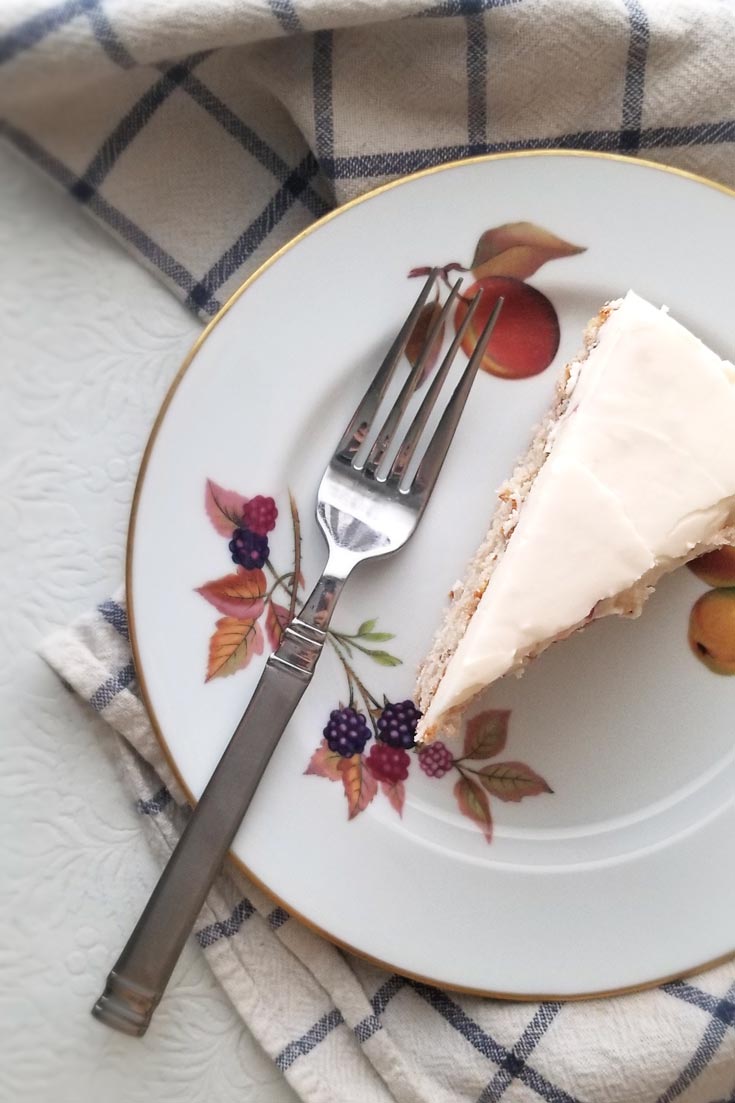
There is one part of the recipe that I did want to tweak and that was the frosting. I am sure it is delicious as written but it calls for pulverizing freeze-dried strawberries. These delicious little morsels can be expensive, at $4-$5 per bag, and sometimes hard to find. The solution was simply double the puree and reserve half for the frosting.
The puree is really easy to make and done when it reduces by at least half. The viscosity should be at least puddinglike. When you scrape the pot it should not “flood” into the empty space. Check the video below to see what I mean.
Other than that, this recipe is pretty straightforward. It does take a little longer than a regular cake because of the puree, but it can easily be made in advance and stored in the refrigerator for a few days while you are waiting to use it.
It is perfect for tea parties, Valentine’s Day, or anytime you need a blush of pink in your life! Enjoy!
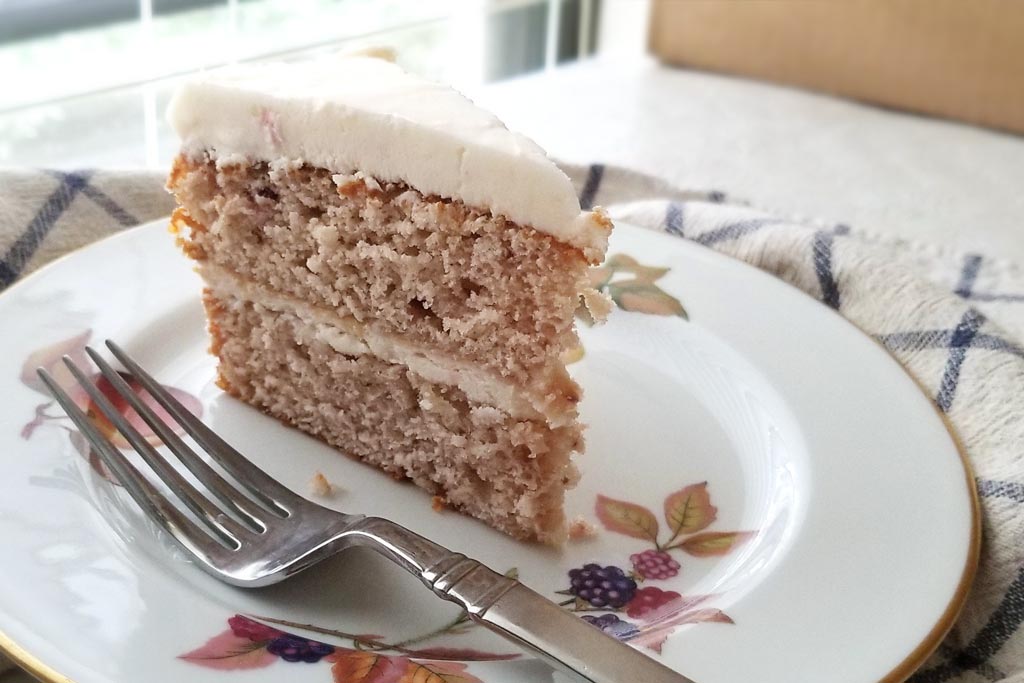
Real Homemade Strawberry Cake with Strawberry Cream Cheese Frosting
Ingredients
Strawberry Puree
- 2 lbs. Fresh Strawberries
Cake
- 250 g sifted cake flour About 2 1/2 cups. Can substitute 2 1/4 cups All-Purpose Flour sifted with 1/4 cup of cornstarch.
- 2 teaspoons baking powder
- ½ teaspoon baking soda
- 1 teaspoon salt
- ¾ cup unsalted butter Softened to room temperature
- 1 ¾ cup granulated sugar
- 5 large egg whites At room temperature
- ⅓ cup sour cream At room temperature (can substitute plain full fat yogurt)
- 2 teaspoons pure vanilla extract
- ½ cup whole milk At room temperature (can substitute buttermilk but not lower fat milk)
- ½ cup strawberry puree It is the first thing made in the recipe, but can be made a day or two in advance
Strawberry Cream Cheese Frosting
- 1 8 oz. block full-fat cream cheese Softened to room temperature
- ½ cup unsalted butter Softened to room temperature
- 3-6 cups confectioners sugar Start with about 3 cups, but have more on hand to stiffen and adjust the frosting based on your location's humidity.
- 1-2 Tbsp. whole milk
- 1 teaspoon pure vanilla extract
- salt To taste
Instructions
Strawberry Puree
- Wash and remove green parts of strawberries. Put them in a food processor or blender and puree until smooth. Each pound should yield about a cup of liquid. You need two cups for this recipe.
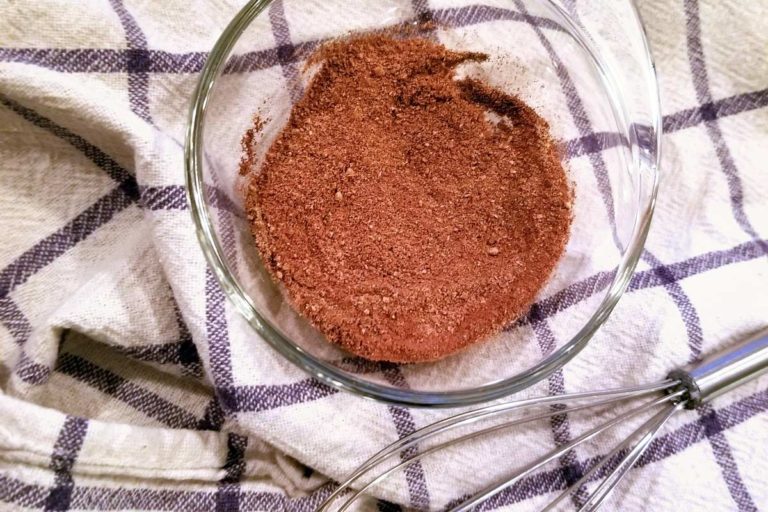
- Put the puree in a pan over medium heat stir occasionally until reduced by half and quite thick (check out the video above to see the consistency you are aiming for). You will need 1 cup of puree, divided into 1/2 cup portions.
- Allow the puree to cool completely. This is a great do-ahead step and will reduce your day-of cooking time by a lot.
Real Strawberry Cake
- Preheat the oven to 350°F. Oil and lightly flour two 9-inch round cake pans. Or, use a baking spray. Set aside.
- In a separate bowl, lightly whisk the dry ingredients (flour, soda, powder, salt) and set aside.
- Using a stand mixer with the whisk attachment (or a handheld electric mixer) cream together the butter and sugar. About two minutes. Scrape down the sides and bottom as needed to fully incorporate the ingredients.
- Turn the mixer to high and add the egg whites. Mix until combined. About two minutes.
- Turn the mixer to low and add the dry ingredients. Mix until just combined then slowly add the milk. Again mix until just combined. You do not want to overmix the batter.
- With the mixer still on low, add 1/2 cup of the strawberry puree and fully incorporate.
- Pour batter evenly between the two prepared pans and bake 23-26 minutes. When you can lightly press the center of the cake and it springs back up the cake is done.
- Set the pans on wire racks and allow cakes to cool completely before frosting and assembling.
Strawberry Cream Cheese Frosting
- In a stand mixer fitted with a paddle attachment (or using a handheld electric mixer) cream the butter and cream cheese on medium-high until smooth, 1-2 minutes. Add the remaining 1/2 cup of strawberry puree and incorporate it into the butter and cream cheese mixture.
- Add three cups of confectioner's sugar, one tablespoon of milk, vanilla extract, and a pinch of salt. Mix on medium until combined. If the frosting is too thin add more sugar until you get the desired consistency. If the frosting is too thick add more milk – as little at a time as possible.
Assembly
- Before assembly, the bottom layer of the cake needs to be leveled. If you want a smooth top surface to your cake level it as well, but I do not mind the top of cakes to be domed so I usually skip this step. However, the cake will fit together better with the base layer flat. To do this use a serrated knife and trim off the dome. You could also use a cake leveler if you want to be very precise.
- Place the base layer on your serving plate or stand and top with frosting. Evenly smooth it out to the edges. Top with the second layer and top with the remaining frosting. Evenly smooth across the top them work down and around the sides. An offset spatula will make this much easier.
- You can eat immediately (it will be delicious) but letting it rest in the refrigerator for 30-45 minutes will let everything set up better. If you have any leftover cover and refrigerate for up to five days.
Notes
