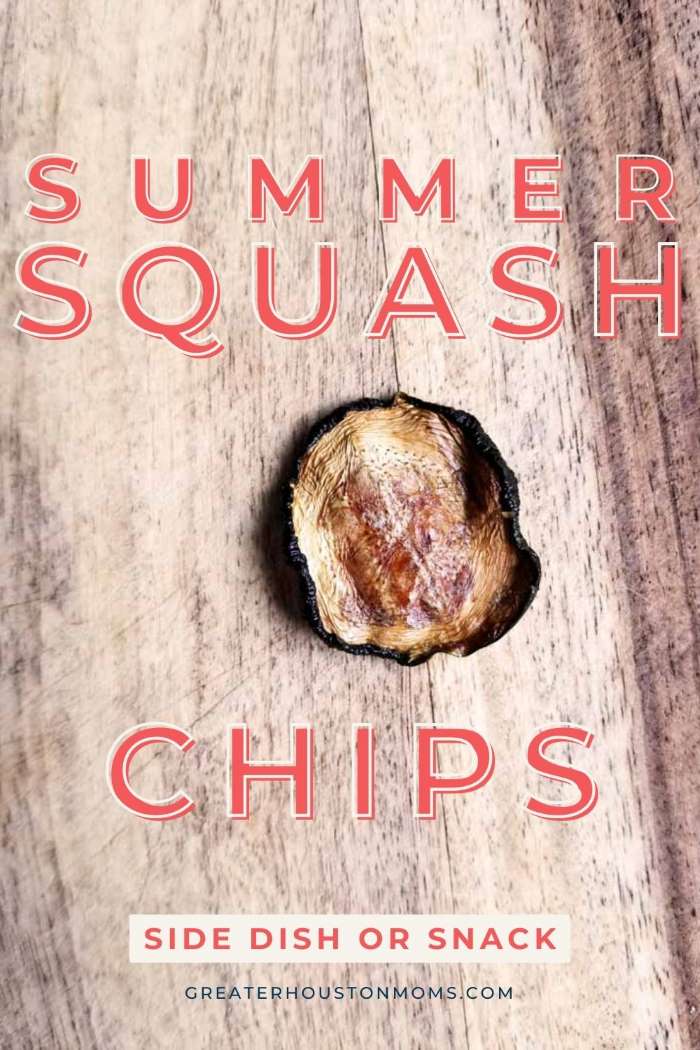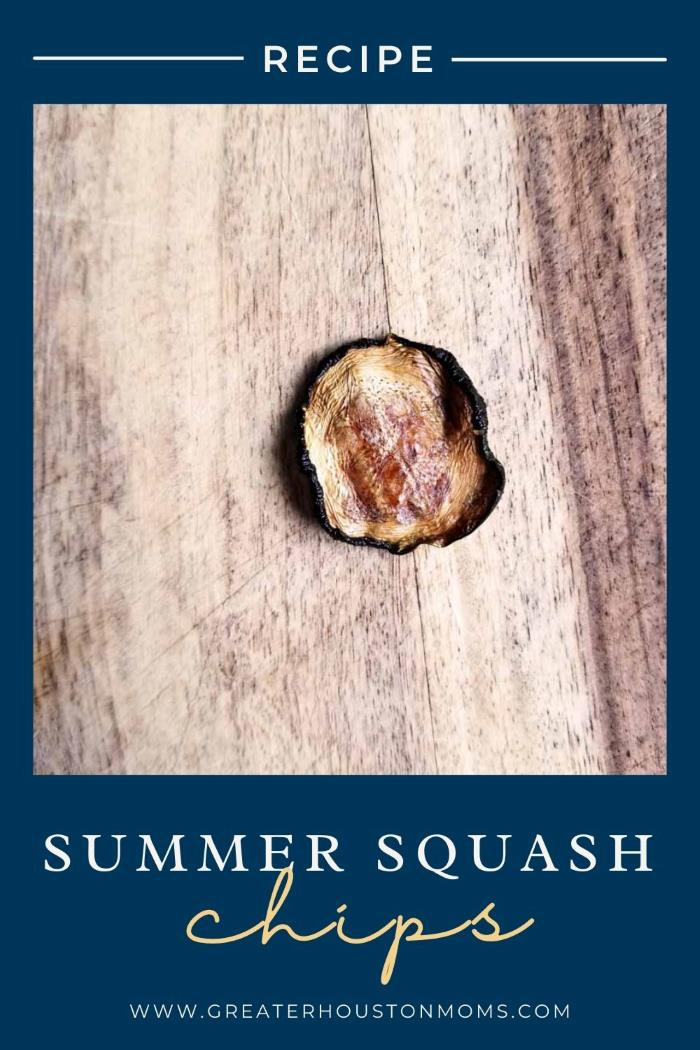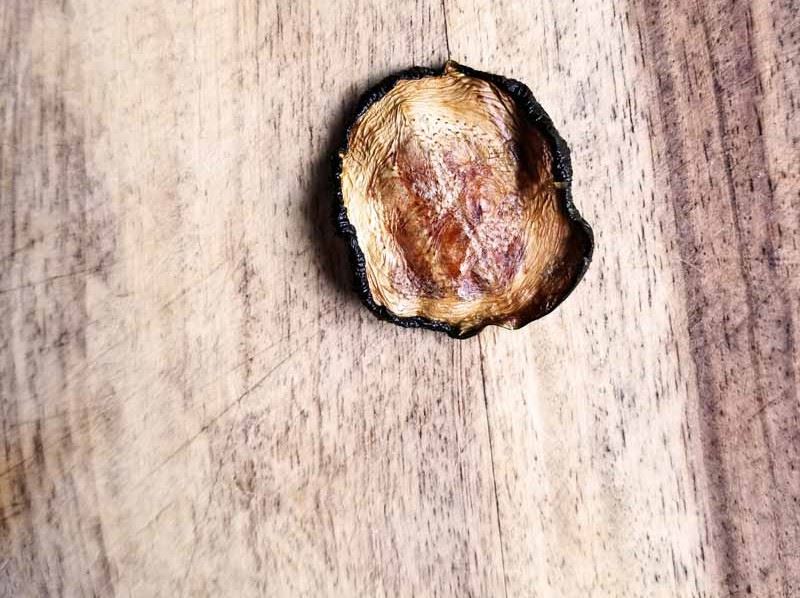
Summer Squash Chips
Soon, it will be summer and that is the perfect time for summer squash chips. There will be squash everywhere! Their glossy yellow and green-skins, those fat-bottomed yellow squash shapes will call to you and you will buy them all. Then you’ll get them home and wonder, “What am I going to do with all these squash?!”
Chips. You can make summer squash chips. Such yummy good and delicious chips. All you need is a little time. If you’re a homebound person throw them in the oven when you make breakfast and they’ll be ready for lunch.
Honestly, they are probably not your best busy weeknight option, but weekends are made for 2-3 hour cooking times! And, they’re worth it. No. You’re worth it!
There’s no real way around the long cook time and it will vary based on how thin your slices are your exact oven temperature and, I swear here in Texas, even the humidity. So, give yourself at least two hours but buffer in three.
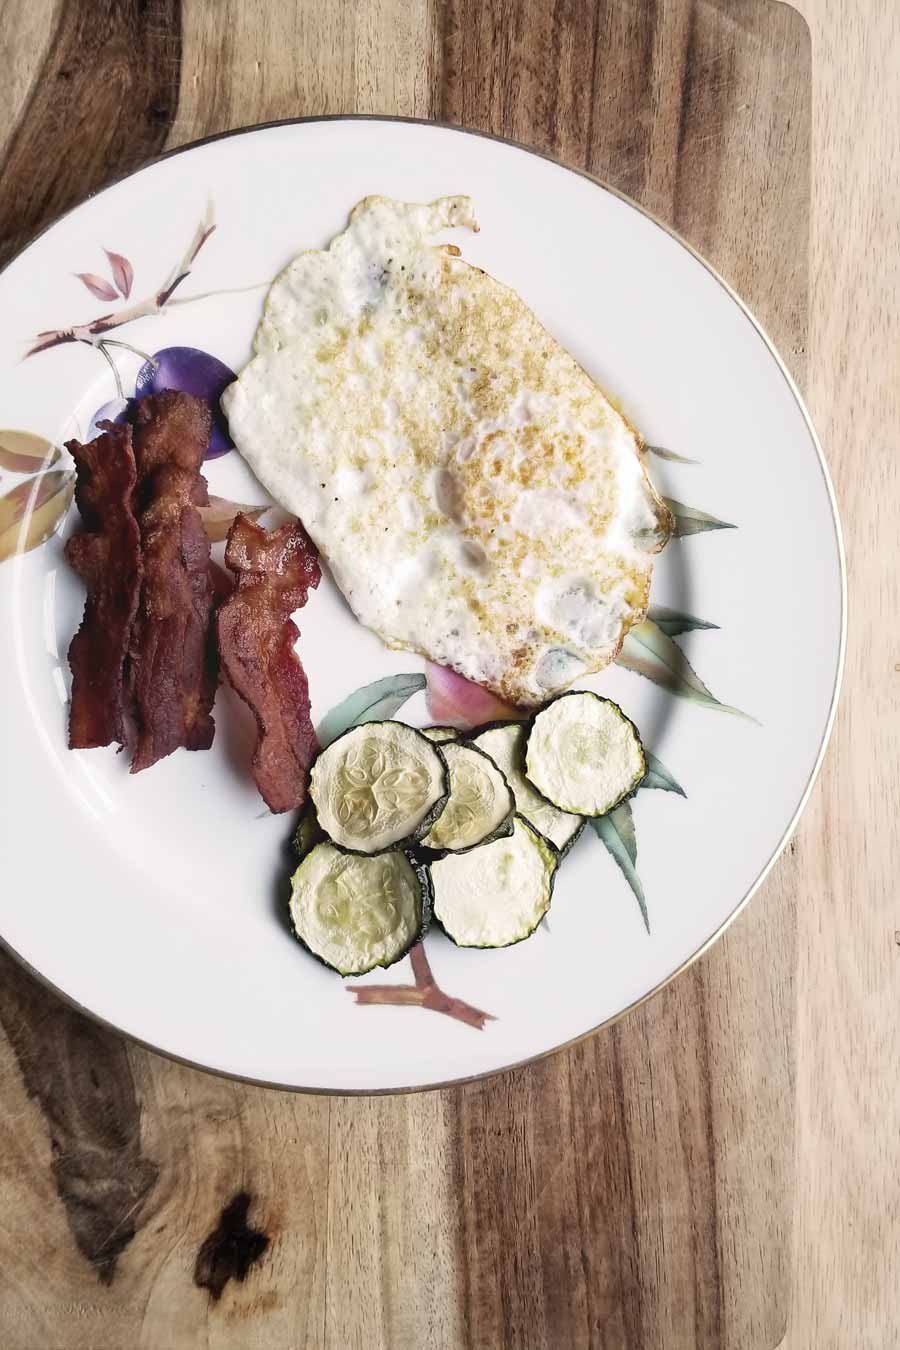
They are absolutely perfect for low carb, Whole30 style diets too!
You can mix these with anything. Zucchini and yellow squash are very mild and will take just about any spice you want to pair. I’ve suggested a few in the recipe, but it would be impossible to go wrong. So, get slicing and be ready for a low and slow day!
Summer Squash Chips
Equipment
- 1 Oven-safe Baking Grid/ Cooling Rack The correct size to fit your pan (typically a half sheet or jelly roll pan)
- 1 Oil mister
Ingredients
- summer squash (zucchni, yellow or both) one per person
- Extra Virgin Olive Oil
Seasoning Combination Options
- Garlic with salt and pepper
- Seven Spice Sprinkle
- Cumin with Smoked Paprika
- Garlic Powder, Paprika, Lemon Zest, with Salt & Pepper
- Thai Spice
Instructions
Preheat and Prep
- Preheat your oven to 130-225℉. If your oven has a dehydrate setting use that. If you are using multiple racks use the convection option or remember to periodically rotate your pans throughout the cooking time.
- Prepare your cookie sheet with a foil or parchment paper liner, if desired for easier clean up, and fit a baking/cooking rack in the baking sheet. Spray Extra Virgin Olive Oil on the rack.
- NOTE: If you don’t have a baking rack you will need to periodically flip all the ovals to ensure even cooking. Use parchment paper to reduce sticking and oil it prior to laying out the squash. If your rounds are too thin do not attempt to flip them, they will stick. Just plan to check for doneness earlier.
Prep the Summer Squash
- Slice the summer squash (zucchni, yellow or both) on the bias in about 1/8” slices, not straight across but at about a 45 degree angle to create elongated ovals. This is particularly important if your rack does not have a grid as it helps them not to “fall” or droop through. Thinner slices will be done faster but have a tendency to stick.
- Lay the ovals out on a kitchen towel or paper towel. Top with another and gently press on the squash to release extra moisture.
- Arrange on the baking rack, close but not touching. Spray or baste with olive oil. Sprinkle your desired seasonings. Remember sprinkle from at least a foot over the food. You will get much better disbursement. Flip the squash ovals and repeat.
- The thickness of the slices and the oven temperature will affect the exact time. But, if you are in a rush you can bump it up to the higher end.
- Periodically check for desired doneness and open the oven to let moisture out – every 20 minutes, or so. They are edible at any time but if you want them to be crispy chips low and slow is the way to go. Enjoy!
Overall, summer squash chips are a game-changer when it comes to healthy snacking. They offer a delightful combination of crunch and flavor, all while providing a nutritious alternative to traditional chips. So, why not give your taste buds a break from the usual and embark on this delicious squashy adventure? Grab a fresh summer squash, fire up the oven, and get ready to savor the crispy goodness straight from the garden!
Remember, my fellow snack enthusiasts, it’s all about exploring new flavors, savoring the great outdoors, and sharing our love for good food. Summer squash chips are just the beginning. Let’s continue our culinary journey together as we discover more tasty and healthy treats. Cheers to your new favorite snacking obsession!